Docebo is an amazing learning management system but many training course designers may not know about all the useful features at their fingertips.
From time to time I’ll be sharing a Docebo Advice blog with you, to show you how to get the most from the LMS. Today’s focus will be on Docebo’s page features and menu features.
Recent Docebo releases include greatly enhanced Pages functionality, which has revolutionised the ease with which one can design and build dashboards and landing pages as well as setting up different pages for different parts of the organisation.
Docebo page features handy hint 1: Drag and drop widgets
A selection of drag and drop widgets make it quick and easy to customise and configure pages. There’s no longer a need for programming knowledge to do this, although the HTML widget provides the option for further programming if this is required.
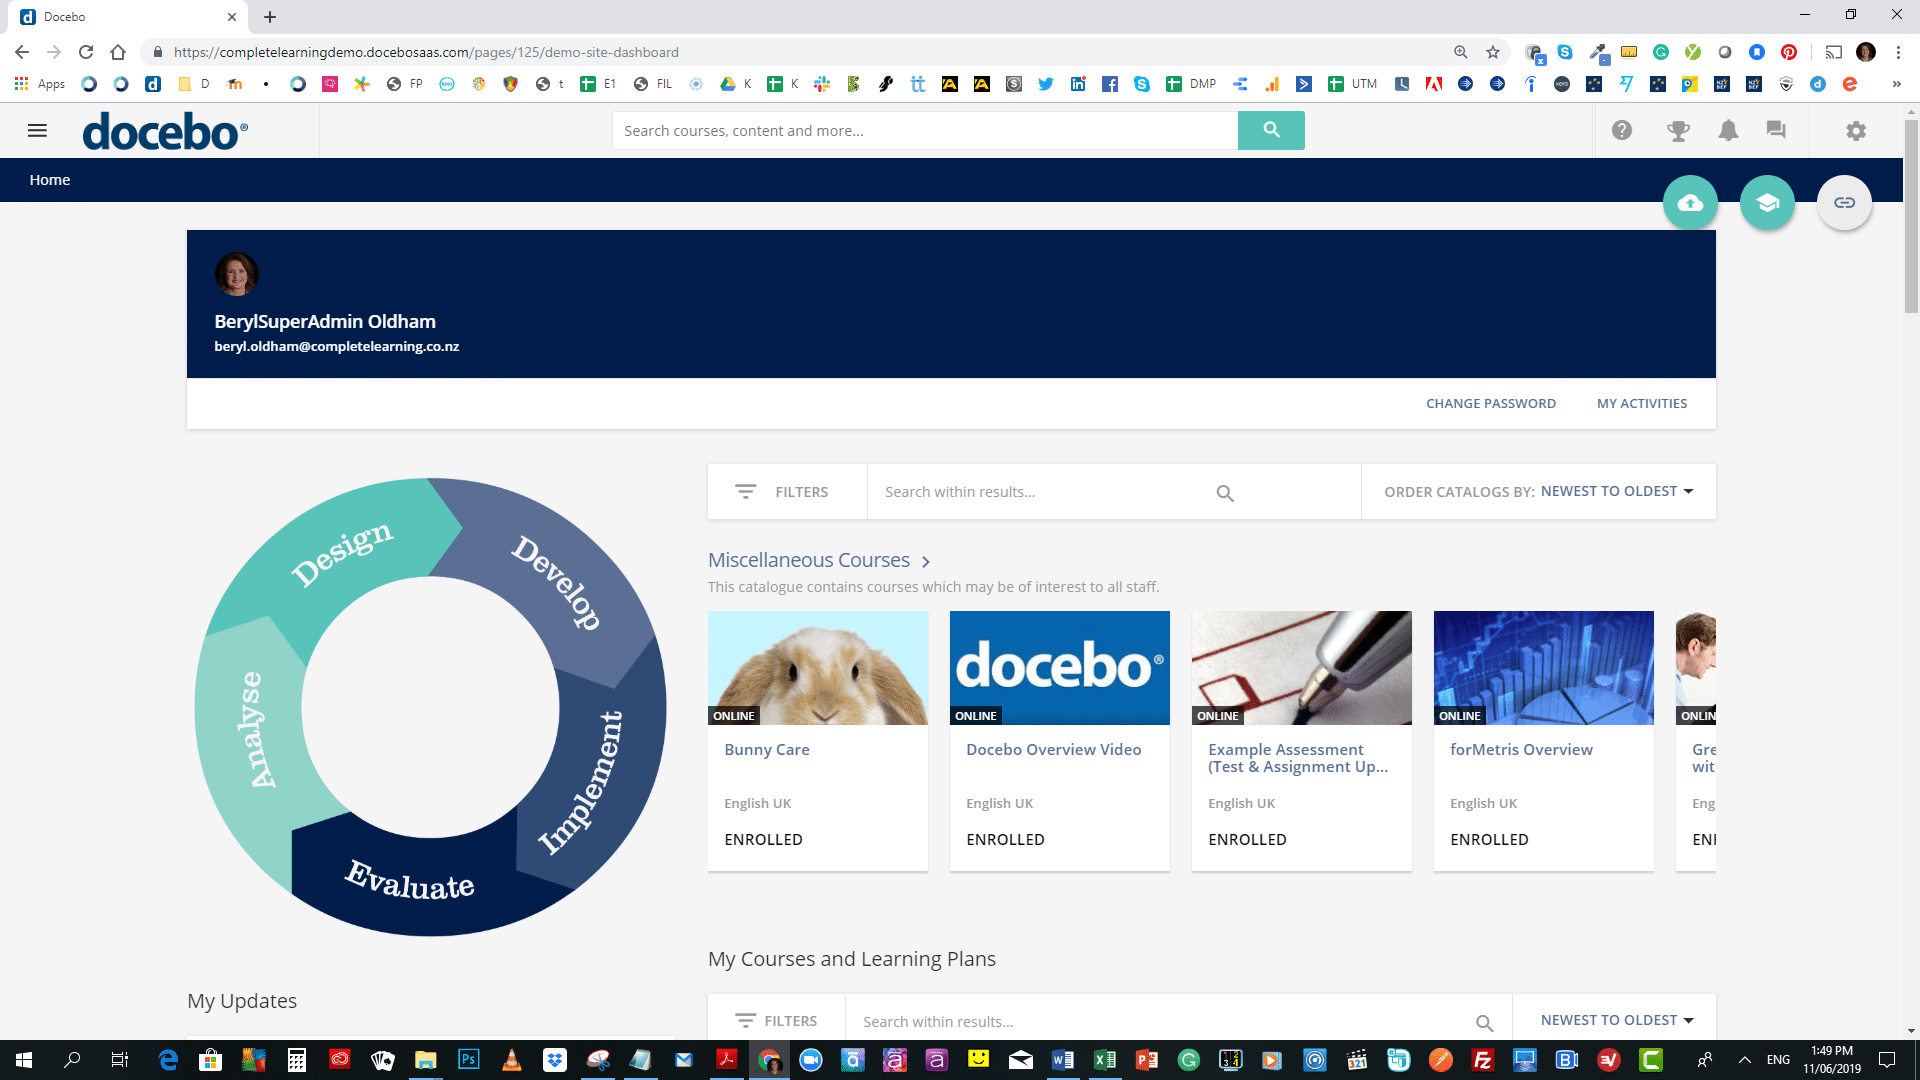
Here is an example of a Docebo landing page seen from the user/learner view:
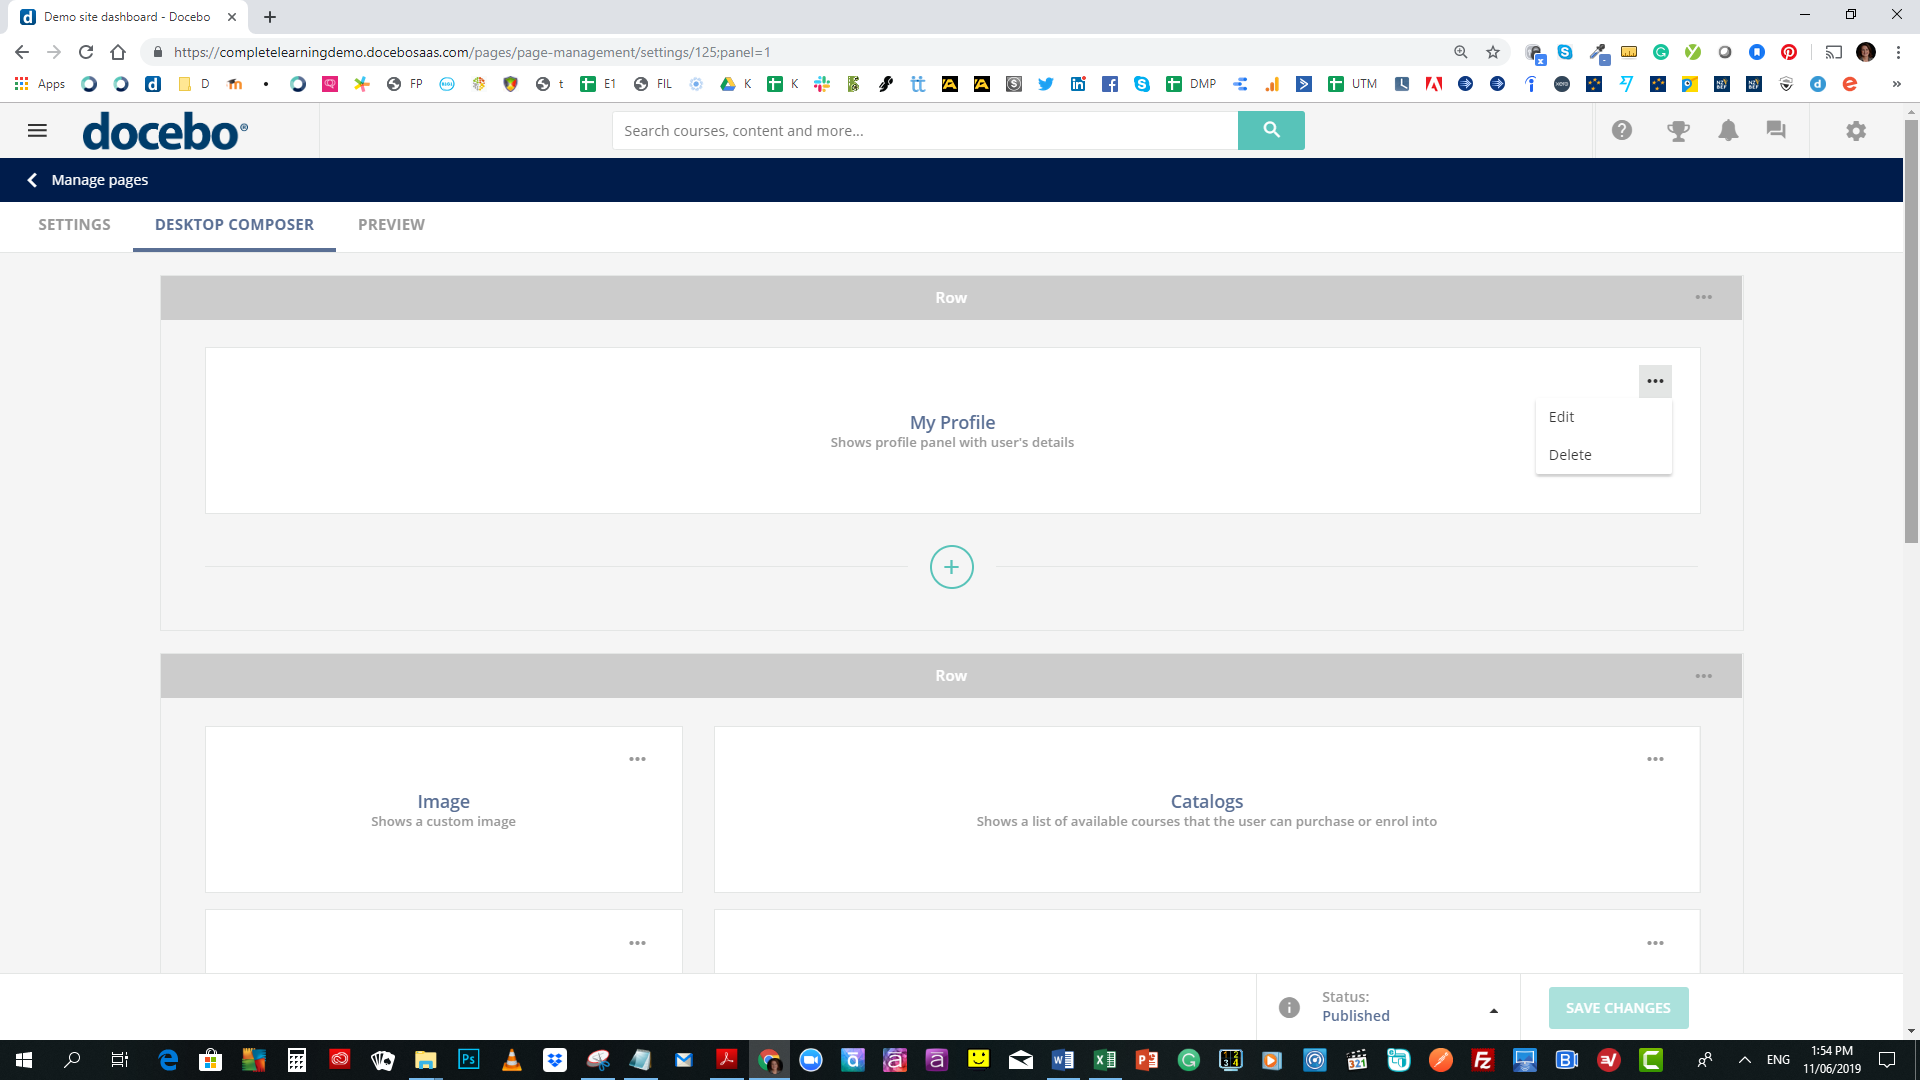
And below is what the same page looks like from the Docebo admin view. As you can see, the white boxes are the widgets, which can easily be dragged around the page to a new position. It is easy to switch back and forth between the two views.
Docebo page features handy hint 2: Widget configuration
Widgets can be configured by clicking on the little menus at the top right of each widget. Clicking on them provides the option of either deleting or editing the widget, as shown top right in the image above.
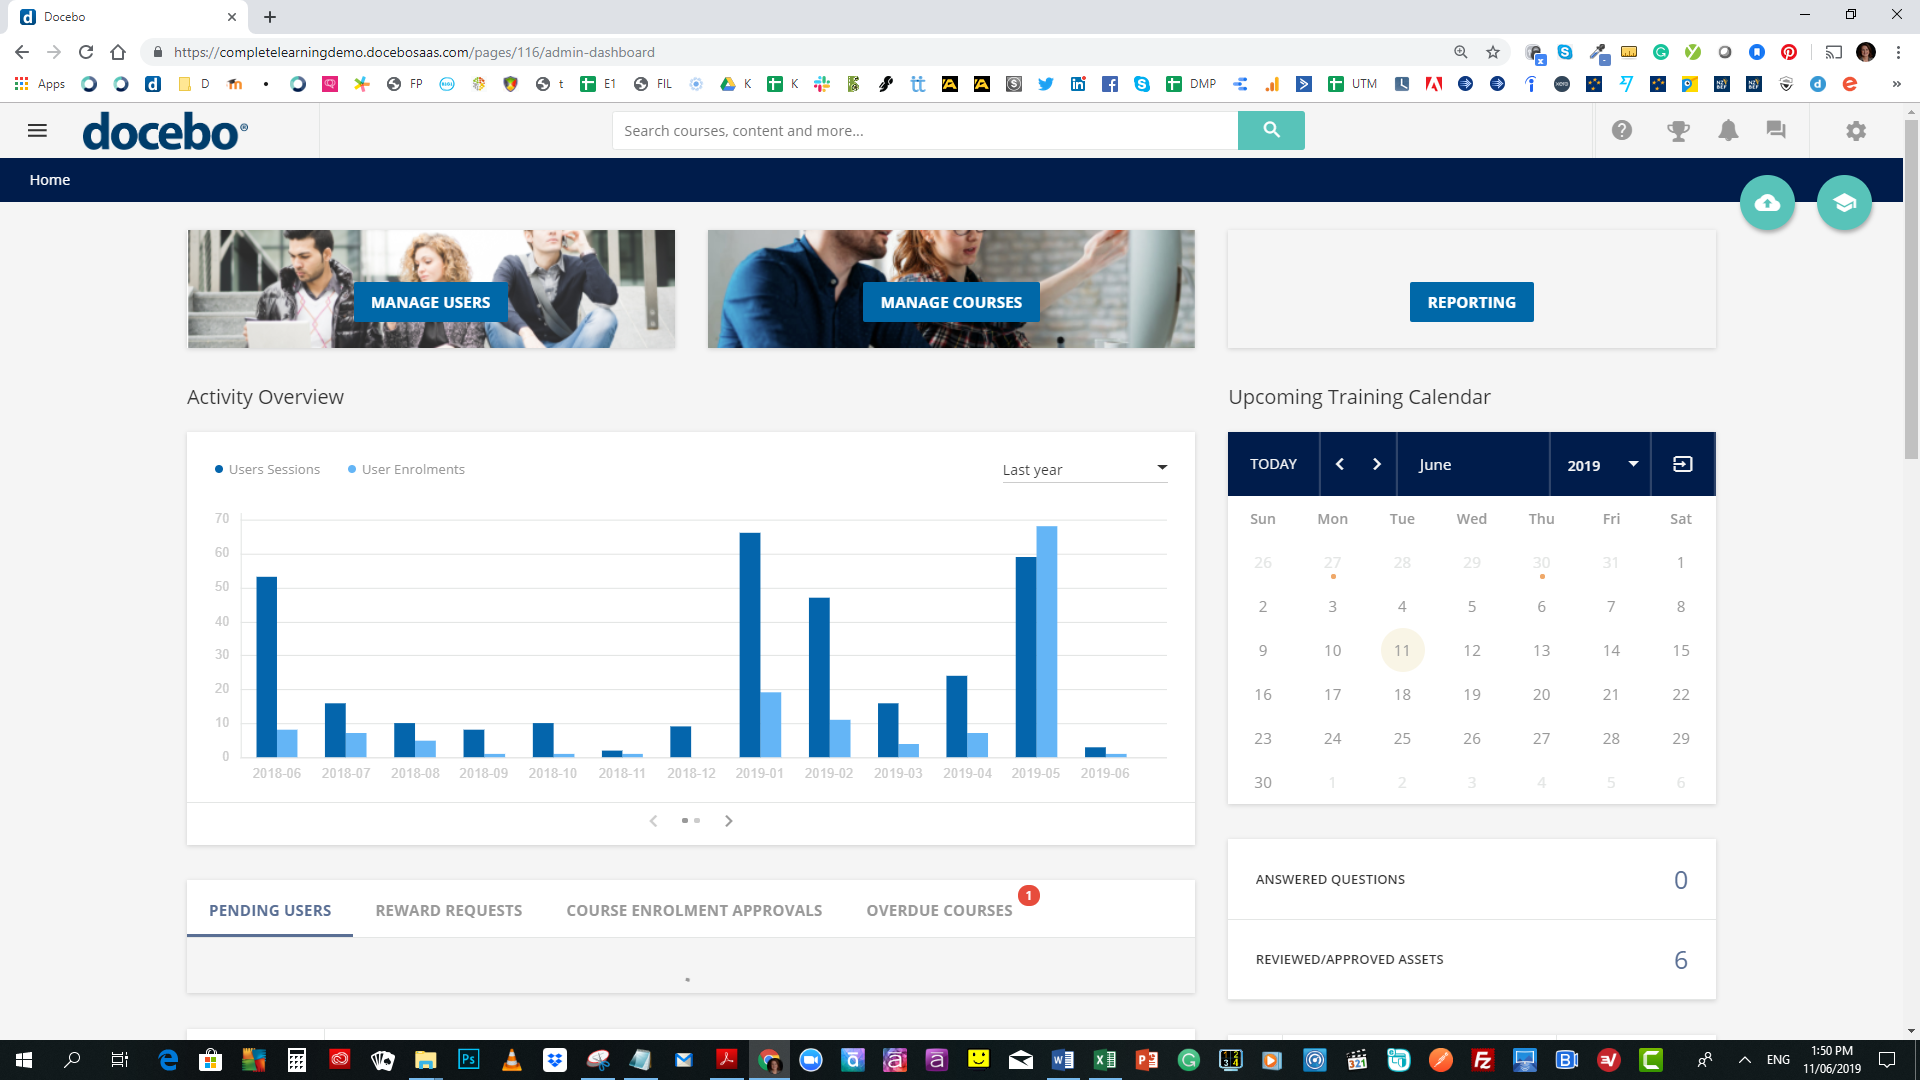
The following is an example of another user view, which has a very different layout to the one seen earlier in this blog:
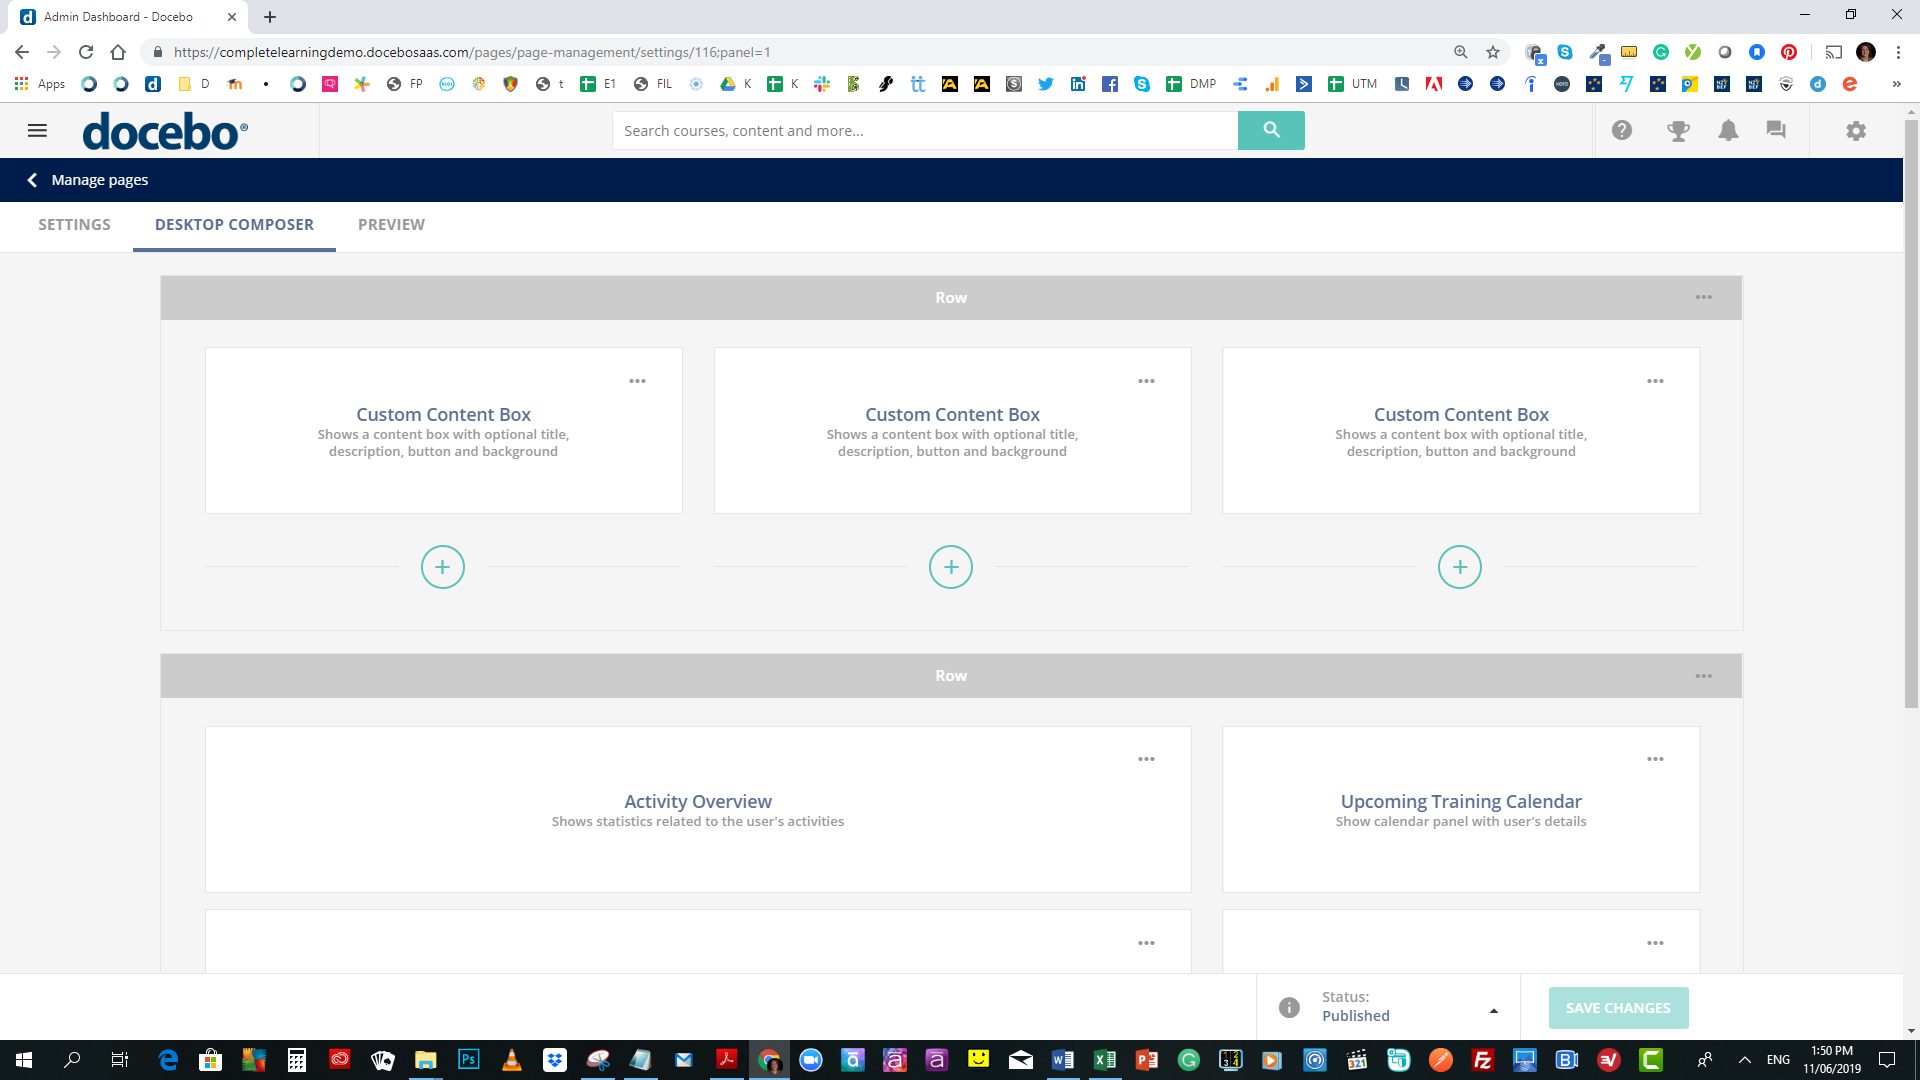
And below is the admin view of the same widgets:
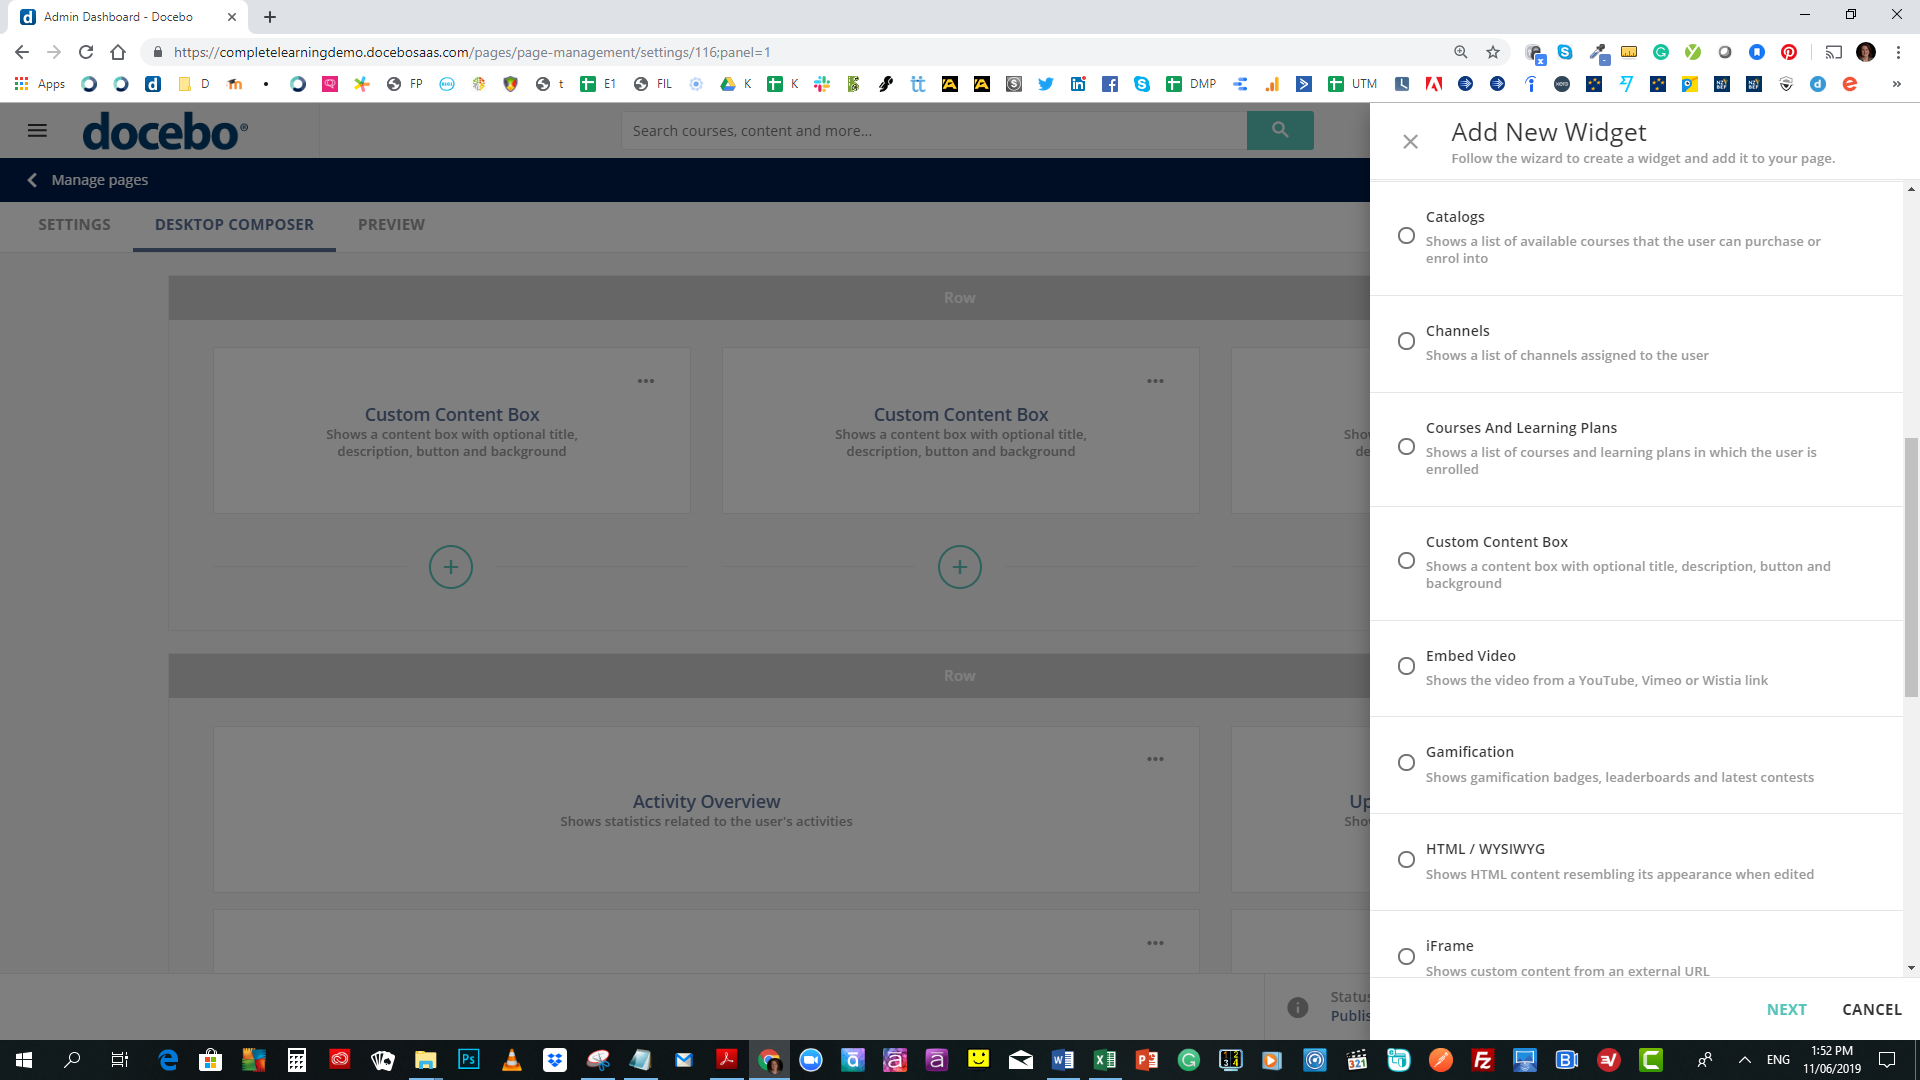
Docebo page features handy hint 3: Adding widgets
![]() To add a widget, simply click on one of the light crosses and the widgets menu pops out. Then scroll up / down to select the desired widget and then drag it into position. You can also preview the new layout before saving it.
To add a widget, simply click on one of the light crosses and the widgets menu pops out. Then scroll up / down to select the desired widget and then drag it into position. You can also preview the new layout before saving it.
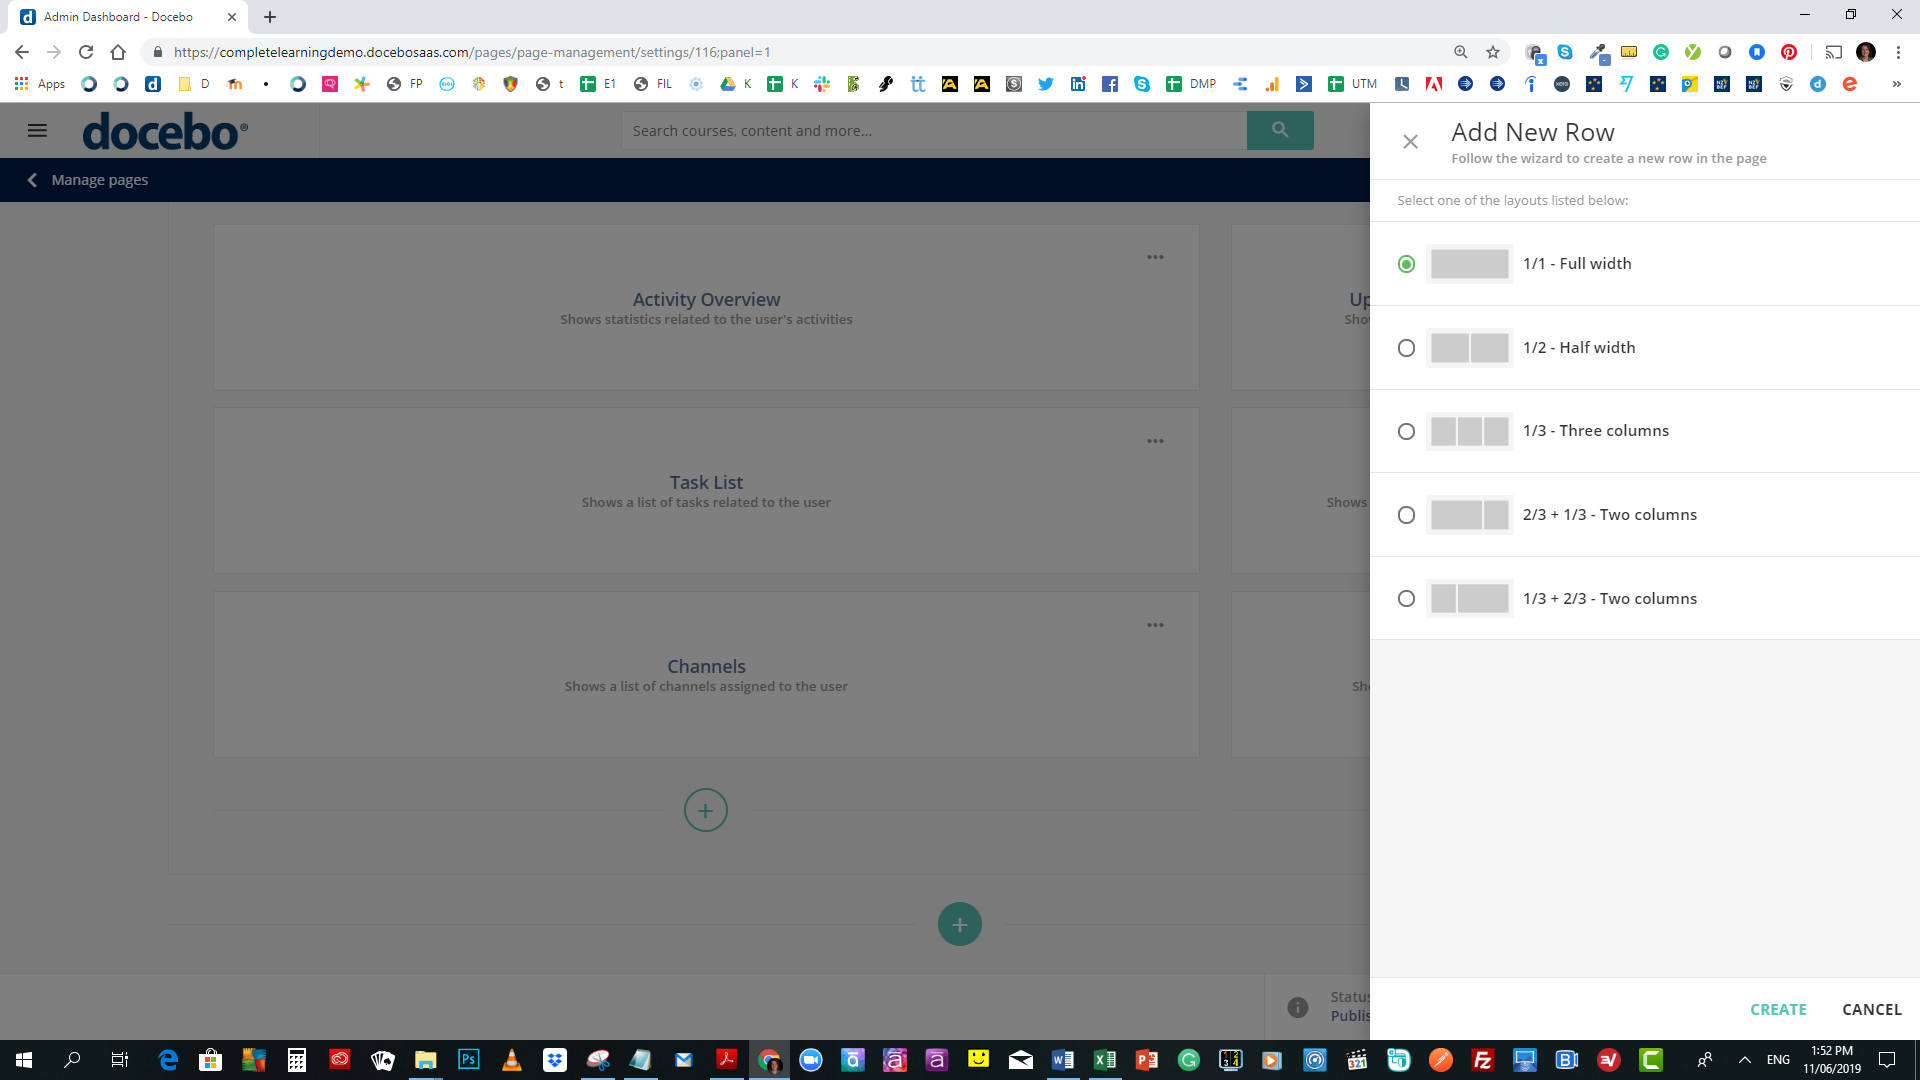
Docebo page features handy hint 4: Adding rows
To  add a new row, scroll down until you see the dark cross. Clicking on it will bring out the row menu, then it’s a matter of choosing a new row with the desired column configuration. Position the new row of columns on the page by dragging to the desired place.
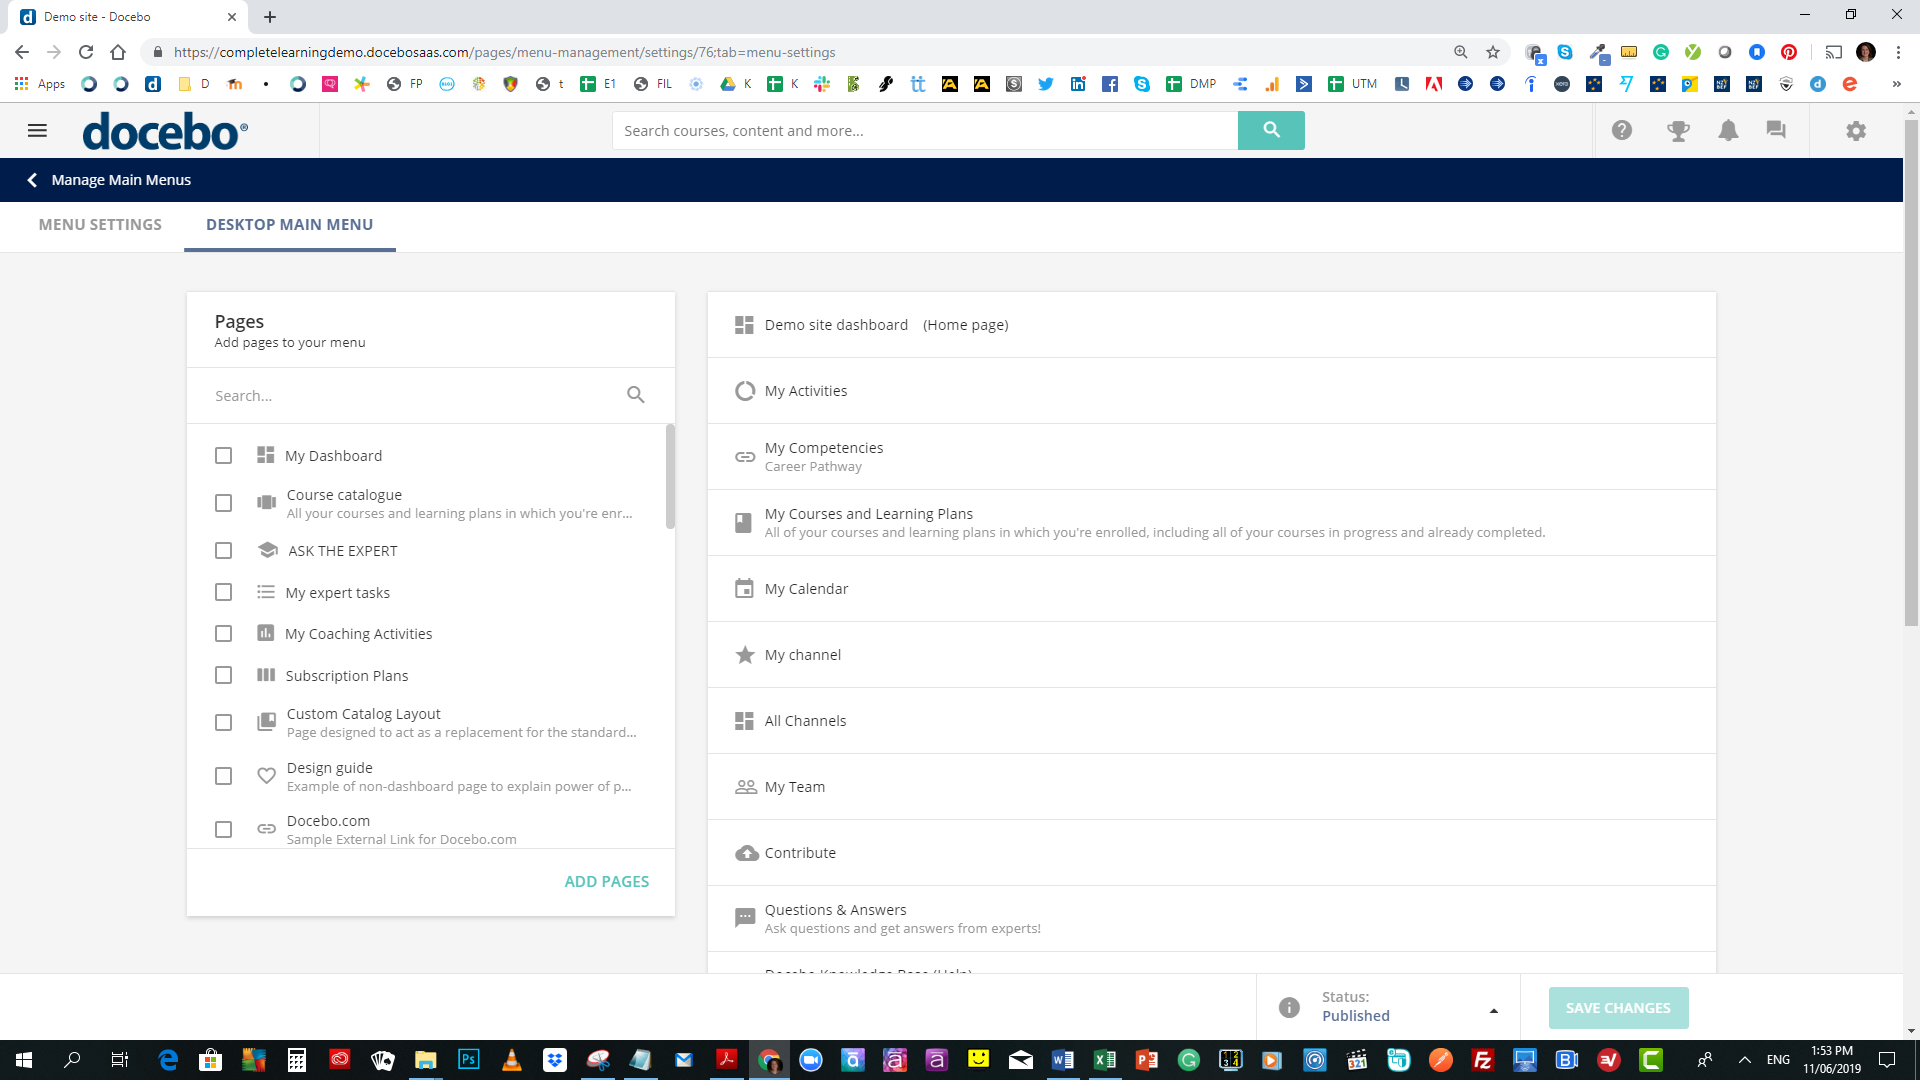
Docebo Pages handy hint 5: Create new menu / update existing menu
Once the new page is complete, then either create a new menu or add the page to an existing menu. Once the page has been added to the menu, drag and drop the page into the desired position in the menu layout. By default, the top page is always the Home page (or landing page) for the LMS or whichever part of the organisation you are targeting.
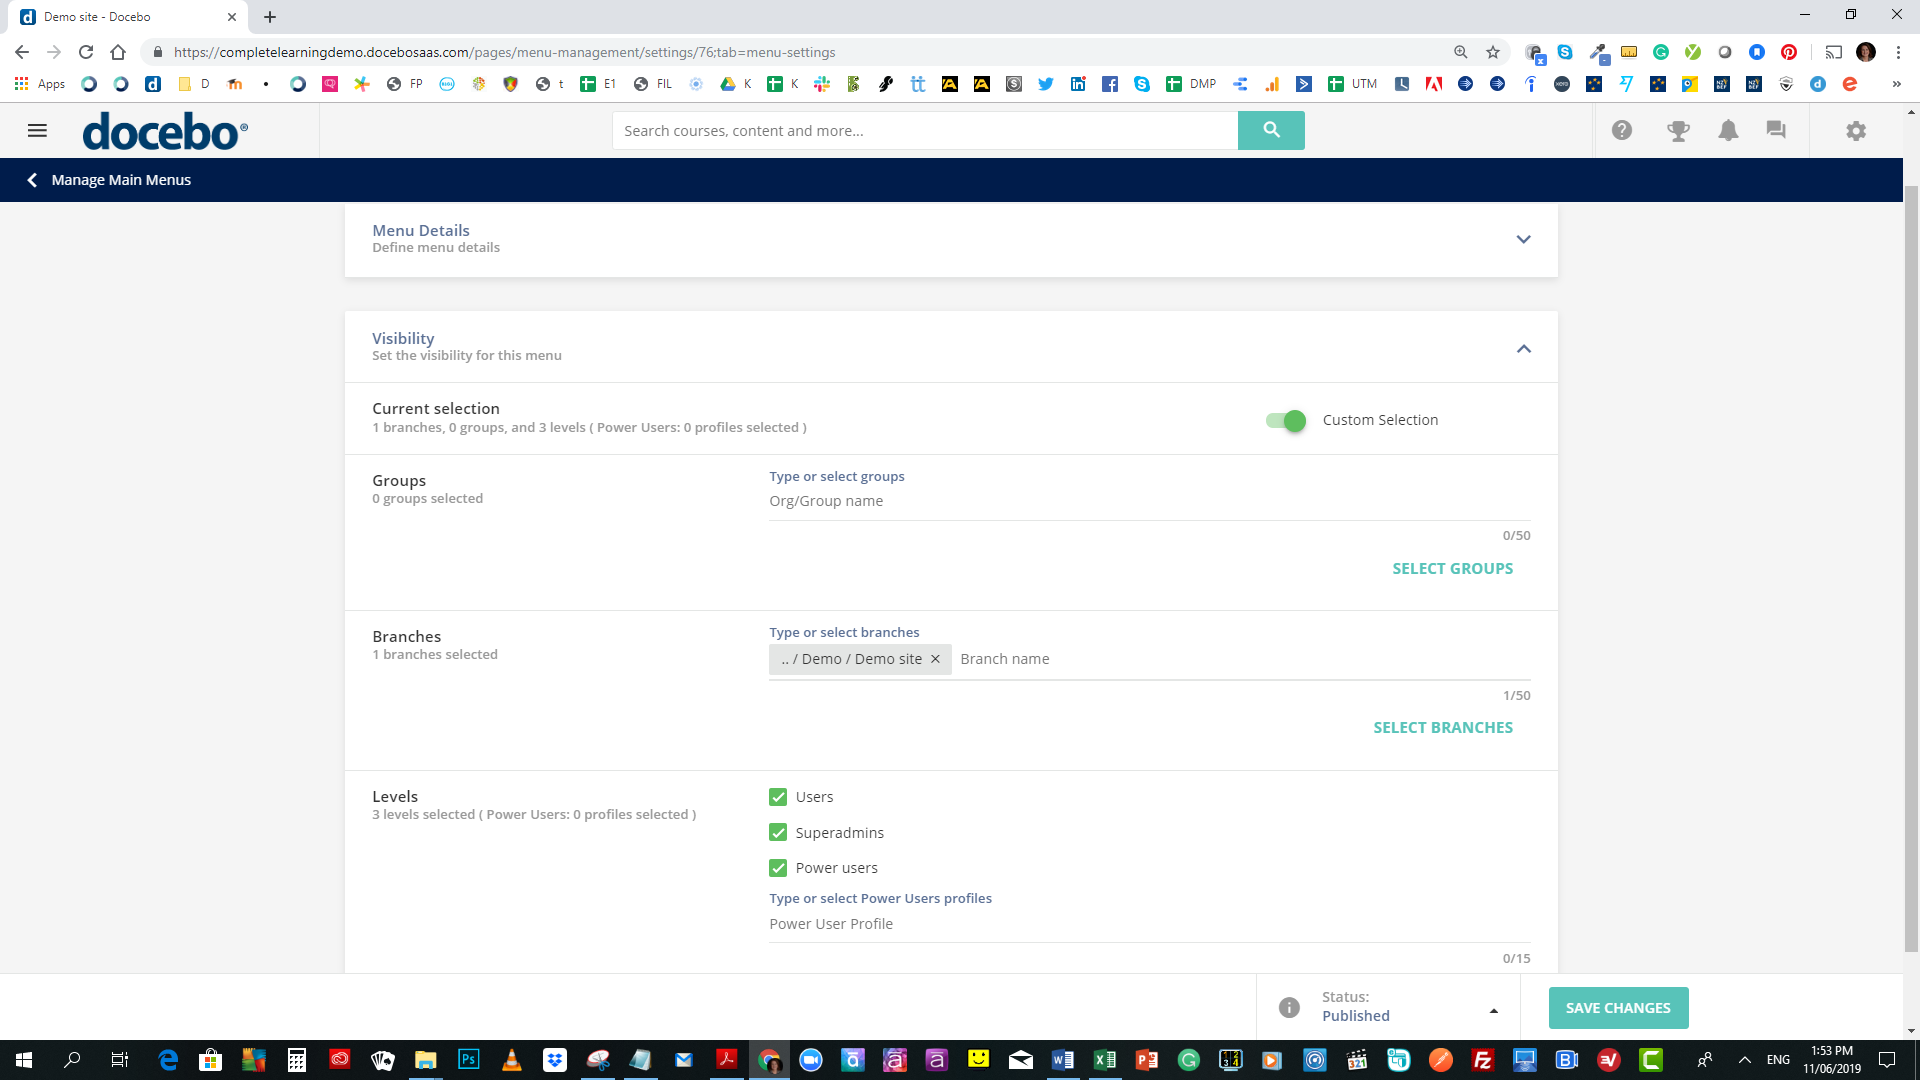
Docebo Pages handy hint 6: Configuring menu access
You can decide who has access to which menu and the pages within it by configuring it in the menu visibility page shown below:
I hope you find this Docebo advice helpful. As you can see, it’s really easy to configure pages and menus within Docebo and only takes minutes to come up with some stunning configurations.
Links to more Docebo advice about the Pages function
See here for a really good overview of Docebo Page features.
I also recommend looking at the help files for more detailed information.
Plus you can find out all about your widget options here.
And of course, feel free to contact us if you would like further Docebo advice, information or support.